

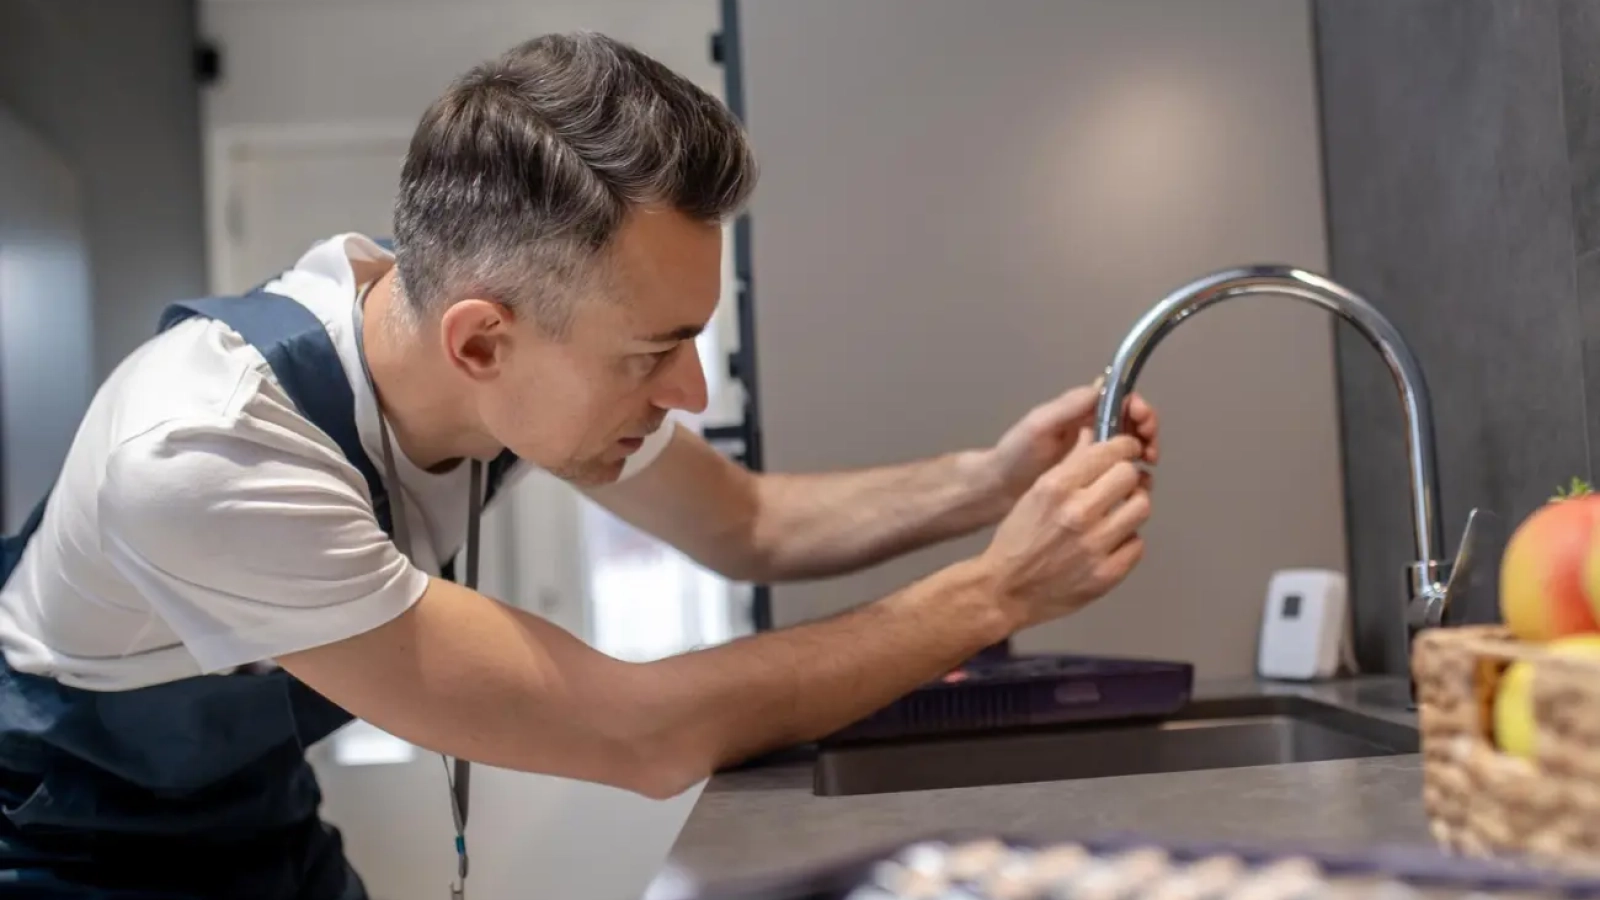
A dripping tap may seem like a small household annoyance, but dripping tap repair Dubai can become necessary when a leak continues for hours or days. Besides the irritating sound, a constantly dripping faucet can waste water, leave mineral deposits around the fixture, and sometimes indicate a worn internal component.
The good news is that many dripping taps have a relatively simple cause. Before replacing the entire fixture, it is worth identifying where the water is coming from and checking a few common components.
Why Does a Tap Keep Dripping?
A tap normally stops the flow of water when its internal valve or cartridge closes properly. If water continues to escape after the handle is turned off, something inside the fixture may no longer be sealing correctly.
Common causes include:
- A worn-out washer
- A damaged cartridge
- Loose internal components
- A worn valve seat
- Mineral deposits around the valve
- A damaged O-ring
- Excessive water pressure
- General wear and tear
The exact cause depends on the type of tap and where the water is leaking.
First, Find Where the Water Is Coming From
Before taking anything apart, observe the leak carefully.
If water comes from the spout after the tap is switched off, the problem is usually related to the internal valve, cartridge, washer, or seal.
If the water is appearing around the handle, an O-ring or another internal seal may be worn.
And if the water is leaking from the base of the tap, the connection or sealing components may need attention.
A leak underneath the sink can be a different issue altogether. In that case, the supply connection, flexible hose, or fitting may be responsible rather than the tap itself.
Knowing the location of the leak makes troubleshooting much easier.
Step 1: Turn Off the Water Supply
Before attempting any repair, shut off the water supply to the tap.
Many sinks have small isolation valves underneath them. Turn the appropriate valve clockwise until the water stops. Then open the tap briefly to release pressure remaining in the line.
If you cannot locate the isolation valve or it does not work properly, you may need to shut off the property’s main water supply.
Do not begin disassembling the fixture while water is still under pressure. Doing so can turn a small leak into a much bigger one.
Step 2: Check the Handle
A loose handle can sometimes prevent the internal mechanism from closing correctly.
Try gently moving the handle after shutting off the water. If it feels unusually loose, inspect the visible screw or fastening point. Depending on the design, the screw may be hidden beneath a small decorative cap.
Avoid overtightening it. Excessive force can damage the handle or the mechanism underneath.
If tightening the handle does not stop the dripping, the issue is probably deeper inside the tap.
Step 3: Inspect the Washer or Cartridge
Traditional compression-style taps often use rubber washers. Over time, the washer can become hard, cracked, flattened, or damaged.
When the washer no longer presses firmly against the valve seat, water can continue passing through even when the handle is closed.
Modern single-lever taps commonly use cartridges instead. A worn cartridge can produce similar symptoms, including:
- Continuous dripping
- Difficulty controlling water flow
- A handle that feels stiff
- Water coming through when the handle is supposedly closed
Replacing the correct component can solve the problem without replacing the entire tap.
Step 4: Look for Mineral Deposits
Water can leave mineral deposits on internal and external plumbing components. These deposits may interfere with the movement or sealing of small parts.
You may notice white, chalky buildup around the tap, aerator, or connections.
The visible buildup can sometimes be cleaned, but deposits inside the valve mechanism may require the component to be removed and inspected.
If corrosion has already damaged the part, cleaning it may only provide a temporary improvement. Replacing the affected component is often more practical.
Step 5: Check the Aerator
The small screen at the end of a tap is called an aerator. It mixes air with the water and helps control the flow.
A blocked aerator does not usually cause a tap to drip when switched off, but it can create unusual flow patterns that make another problem appear worse.
If the water flow has recently become weak or uneven, remove the aerator if possible and inspect it for sediment or mineral buildup.
Clean it carefully and reinstall it. If it is damaged or heavily corroded, replacing it may be easier.
When Should You Avoid DIY Repairs?
A basic washer or aerator replacement may be manageable for someone comfortable with small household repairs. However, not every leaking tap is a simple DIY problem.
Consider professional help if:
- The tap is severely corroded
- The shut-off valve does not work
- Water continues leaking after replacing a component
- A pipe or connection underneath the sink is leaking
- The fitting is stuck and requires excessive force
- The leak is causing cabinet or wall damage
- You cannot identify the source of the water
- Several fixtures are experiencing leaks at the same time
Trying to force a corroded plumbing component can damage the surrounding pipework. A small fixture problem can then become a much more expensive repair.
Can a Dripping Tap Increase Your Water Bill?
Yes. A small drip may not appear significant, but continuous leakage adds up over time.
The amount of water wasted depends on the frequency and size of the drops. A slow occasional drip is obviously different from a steady stream, but neither should be ignored if it continues.
There is another reason to deal with persistent leaks quickly: water can accumulate around sinks and cabinets. Over time, moisture may contribute to unpleasant odors, staining, deterioration of wooden cabinets, or damage to nearby surfaces.
Fixing a small leak early is generally easier than dealing with the consequences of prolonged water exposure.
How to Prevent Future Tap Problems
Regular attention can help extend the life of your plumbing fixtures.
Avoid Excessive Force
Do not force a tap handle beyond its normal stopping point. Turning it too tightly can place unnecessary stress on internal components.
Clean Mineral Deposits
Regularly clean visible buildup around the faucet and aerator. This helps keep the fixture functioning smoothly.
Watch for Small Changes
A tap that suddenly becomes stiff, noisy, or difficult to control may be showing early signs of internal wear.
Check Under the Sink
Every few weeks, take a quick look underneath sinks for moisture, stains, or dampness around connections. Early detection can prevent a small leak from becoming hidden water damage.
When Is It Better to Replace the Tap?
Repair is not always the best option.
If a tap is badly corroded, has repeated internal failures, or has reached the end of its useful life, replacing it may make more sense than repeatedly repairing individual components.
The same applies when replacement parts are difficult to find or the cost of repeated repairs approaches the price of a new fixture.
A professional can assess the condition of the fitting and help determine whether repairing or replacing it is the more practical option.
Don’t Ignore a Tap That Keeps Dripping
A dripping tap is easy to dismiss because the problem usually starts small. However, continuous leakage can waste water and may point to a worn washer, damaged cartridge, deteriorated seal, or another plumbing issue.
Start by identifying exactly where the water is coming from and, if appropriate, inspect the accessible components. Always shut off the water before attempting repairs and avoid forcing parts that are stuck or badly corroded.
If the cause is unclear or the leak continues after a basic repair, getting professional plumbing assistance can save time and prevent additional damage. For larger or persistent plumbing problems, you can also explore Top1Dubai’s Dubai plumbing services for professional assistance with household water and fixture issues.